When people decide to transform their living spaces with engineered wooden flooring, they often picture the final result first—the smooth finish, the warmth underfoot, and the elegance it adds to a room. But before that polished surface comes to life, the real journey begins with the installation process. And no matter if you’re a homeowner taking the DIY route or a contractor backed by years of experience, one factor remains the same: having the right tools for the job.
Engineered flooring is a beautiful blend of durability and design, but installing it requires precision. Lacking proper equipment might result in poorly aligned joints, unnecessary material loss, or potential harm to the boards. To help you avoid such headaches, we’ll walk through the essential installation tools that simplify the process and ensure you achieve professional results every single time.
Why the Right Tools Matter in Flooring Installation
Before diving into the actual list, let’s pause for a second. Why is it so important to use proper flooring tools instead of just improvising. The logic is simple—engineered floor is made up of layers that must be locked in place with precision. If the fit isn’t correct, gaps may appear, which later invite moisture, dust, and squeaks. A proper toolkit makes the difference between a floor that looks flawless and one that shows flaws after a few months.
An Engineered Wood Flooring Company or Wooden Floor Supplier can deliver high-quality boards, but it’s the tools that decide how well those boards sit inside your home or commercial space.
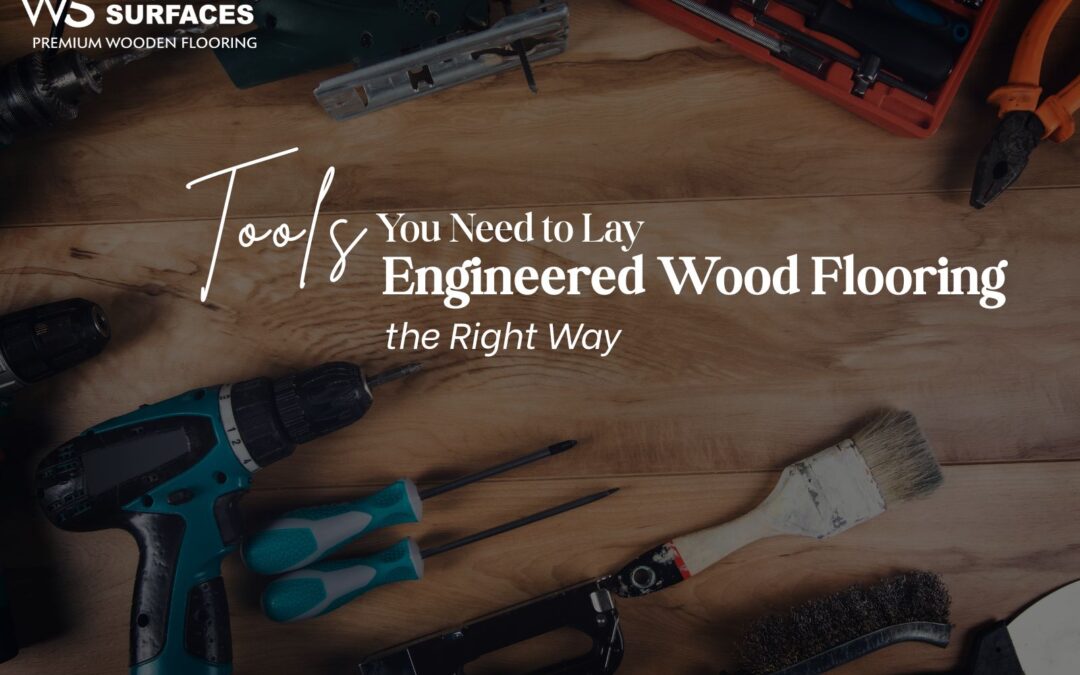
Must-Have Tools for Engineered Wooden Flooring Installation
1. Tape Measure and Chalk Line
Every great floor project starts with accuracy. A measuring tape guarantees boards are cut to the proper size, while a chalk line provides straight reference marks across the subfloor. Without these basics, even the best tools for professionals can’t save you from misaligned rows.
2. Moisture Meter
Moisture is the hidden enemy of wood floors. Even engineered options, which are more stable than solid wood, can warp if the subfloor isn’t dry enough. A moisture meter is an underrated tool that helps you check both subfloor and flooring planks before installation.
3. Utility Knife
For trimming underlayment, scoring cuts, or handling small adjustments, a utility knife is indispensable. DIY engineered flooring installation often begins with simple tools like this one, but professionals keep it close at hand as well.
4. Flooring Nailer or Stapler
If you’re opting for the nail-down method, this tool is non-negotiable. A flooring nailer makes sure boards stay tight without compromising the tongue-and-groove design. For floating floors, you might not need it, but for glued or nailed installations, it’s a lifesaver.
5. Rubber Mallet
You’ll need gentle persuasion to fit boards together without damaging them. A rubber mallet gives you the right balance of force and care, especially when tapping planks into place with a tapping block.
6. Tapping Block and Pull Bar
Speaking of tapping, these flooring installation tools are designed to close gaps between planks without chipping edges. The tapping block handles boards in the middle of the room, while the pull bar helps tighten edges against the wall.
7. Circular Saw or Jigsaw
Cutting planks to size requires power tools. A circular saw handles most of the work, while a jigsaw is handy for intricate cuts around corners, door frames, or vents. Both are essential for anyone serious about a seamless installation.
8. Level
A leveling tool ensures that the subfloor is smooth and even before you begin. An uneven surface is one of the most common causes of failed installations.
9. Knee Pads
This one is often overlooked, but anyone who has spent hours on the floor knows how important knee protection is. Whether you’re a professional installer or attempting DIY engineered wooden floor installation, investing in quality knee pads keeps fatigue and injuries away.
10. Vacuum and Broom
A clean subfloor is just as important as the flooring itself. The presence of grit, debris, or dust may weaken adhesion and lead to raised spots. Regular cleaning while working ensures smooth progress.
Extra Tools That Make the Job Easier
- Adhesive Trowel: For glue-down methods, spreading adhesive evenly is crucial.
- Spacers: Leave equal expansion gaps by the wall.
- Clamps: Useful for holding planks together when adhesive is setting.
- Pencil and Square: For marking precise cutting lines.
These tools might not look important, yet they ensure the refined, straight finish that gives flooring a professional touch.
Professional vs. DIY Flooring Tools
For homeowners who love rolling up their sleeves, DIY engineered floor installation is completely achievable with a basic set of tools. Usually, a utility knife, a mallet, spacers, and a saw will do the job. However, flooring tools for professionals go a step further—automated nailers, industrial-grade saws, and heavy-duty pull bars make the work faster and more precise.
Picking between a do-it-yourself approach and professional solutions depends on your confidence, cost considerations, and the project’s complexity. Large commercial jobs will almost always require advanced engineered wood flooring tools, while smaller residential spaces can be managed with simpler kits.
Where Do You Source the Tools and Materials?
An Engineered Wooden Flooring Supplier often provides guidance on recommended tools alongside flooring boards. Some even offer rental services for specialized equipment like flooring nailers or moisture meters. For homeowners, consulting an engineered wood flooring company is a good starting point to understand what’s essential and what’s optional.
The relationship between supplier and installer is key—high-quality boards paired with the right toolkit ensure your new floor not only looks incredible but also performs for decades.
Final Thoughts
Laying engineered flooring the right way is not only about skill—it’s also about preparation. The perfect installation comes from a thoughtful balance of quality boards, accurate planning, and dependable engineered wood flooring installation tools.
Remember: a stunning floor doesn’t just rest on the surface—it begins with the tools in your hands.